SHC Search

Wednesday, November 27, 2019

Camaro scratches

Another little issue on the Camaro was the scratches and dings, but I new all about them when I first looked at the car. It was only 4 degrees out that day, so I quickly made a mental note, and then negotiated with the salesperson about the cost of the repairs while sitting in the heated seats.


The passenger mirror had some crazy scratches inside and outside, almost as if a bungee cord hook was on the mirror. The passenger splash guards also had some road-rash, so along with a little mark on the nose, they all got a quick touch-up.

Tuesday, November 26, 2019

Camaro Engine Cover

 The cover for the LS3 on my Camaro was a bit rough to say the least. It looks like every time they did an oil change, they just threw it on the pavement. I took a few minutes to sand it down and respray it, and now she looks as good as new.

Monday, November 25, 2019

Camaro Interior

 One of the nicest things about the inferno orange interior is the beautiful orange color accents. The door ambient lighting is one of my favorite parts of night driving.


Saturday, November 23, 2019

2011 Camaro

As I mentioned previously, I traded in the Saturn Sky for a lightly used 2011 Chevrolet Camaro 2SS. I had been looking for quite some time for this particular one, and it needed to have the following options:

  • Inferno Orange metallic with inferno orange interior.
  • LS3 V8 engine with 6 speed manual transmission and factory Hurst shifter.
  • SS and RS option package.
I never seemed to be able to find this, and it literally took 8 years until I discovered this one online at a Dodge dealership on a used trade-in. The car had only 29k miles, so to me it was like brand new. My Sky had over 170k miles, and she was starting to show her age.

The Camaro had a few upgrades already like a cold air intake and complete stainless headers/exhaust by Kooks. It really sounds great, and with about 475 hp it goes great too. I upgraded the DRLs with color matched LEDs and installed the harness to allow them to function all the time. I might add a spoiler on the front this spring too.

Thursday, November 21, 2019

Sneak Peek - New Turn Signals

I have installed new sequential LED turn signals on the Buell, replacing to old "lollipop" turn signals that came stock with the bike. With the new LED headlight, it makes the bike look 20 years newer.. at least I think so.

Buell M2 Cyclone New Seat

I've documented a previous Buell M2 Cyclone rear seat conversion, but this time I took a different approach. I re-shaped a stock seat and created my own custom fiberglass rear seat cowl. I could not be happier with the results!

Harley WLA Rear Brake

A while back, I was getting a bad squealing sound from the rear drum brake of the 1942 Harley Davidson WLA, so here was the repair...


Friday, November 08, 2019

Photobucket...ughh

Ok, I should really get back to this blogging thing again. I have been wallowing in the aftermath of the Photobucket disaster that pretty much crapped out all of my photos on my blogs. I was able to download and save all my files from their site, but that took a while, and now I'll need to figure out where to go from here.

I have been busy with work and family, and working on my 2011 Camaro which I traded in the Saturn Sky for, and the '42 Harley, and the 2000 Buell M2 Cyclone (another custom orange one!). I've also been helping some friends out with their paint and body repairs, some of it is OK, some of it is really nice work if I do say so myself. I even was on Twitch for a while, and made a couple of videos. Looks like I have plenty to blog about, I just need to get to it.


Tuesday, December 06, 2016

My Stingray at Mecum!

I got a message from my friend Johnny that our old 1964 Corvette Stingray was sold on December 2, 2016 at the Kansas City Mecum auction for $65,000! It now is running an LS3/525 HP engine and C5 Corvette wheels, but otherwise it looks almost the same as when I built it. I did notice a new set of headlights and grill which looks pretty good. I'm trying to get the video from Mecum so that I can see it going across the block...
https://www.mecum.com/lots/KD1216-266559/1964-chevrolet-corvette-convertible/


Monday, November 23, 2015

Saturn Sky

What do you get when the weather starts to turn cold? A convertible of course! We saw this little gem, and I've always liked this body style, so now I'm driving a 2008 Saturn Sky to work every day.

I needed to fix a few things, and she does have some high mileage, but oh what fun it is to drive! So far, I have rewired the reverse light, fabricated a replacement panel for the broken cup holder, fixed the glove box and adjusted the front fender so it stops hitting the passenger door when you open it. The previous owner was a smoker, but a week of cleaning and air fresheners has really helped with the smell. I have ordered two new wheels, as one of them is bent (although I can't feel it) and another has some curb rash. They should arrive in a few days. My plan is to enjoy the little roadster, probably fix up the little dings and dents, and maybe paint it this spring. Who knows, if the power train ever gives up, you never know if a LS might find its way under the hood.

Buell and Prelude

It's been sooooo long since I last blogged, I could not even remember my password to log into my site. Let's see, where do we start. Last June, I wanted to see if I could still ride, so I picked up another Buell. She was a 1996 Buell S1 Lightning with the 1203 cc Harley engine, clip-ons and custom rear sets. I had some summer fun, but I simply could not get past the wreck of 2012. I had few more close calls with a some of NJ's worst drivers again, and then called it quits.

As time would have it, Zach was also ready to let his 1991 S-10 Blazer go, and to move on to something newer and more reliable. We decided to sell both the Buell and Blazer, and pool the funds together to get him a Honda. The guy who bought the Buell (Rich from Miami) was also selling his late mother's 1998 Honda Prelude, so we were able to make a sweet deal. Zach's new ride has a whopping 58k miles, and the interior is like brand new! I'll have to post some pics of it when we get a chance.


Thursday, July 16, 2015

1967 Jaguar XKE

Anyone who knows me, knows how passionate I am about old cars... and how I got that way. Some of my earliest memories were of my grandparents and their 1967 Jaguar XKE that they road raced and participated in the Pennsylvania Hillclimb Association in the late 1960's and early 1970's. One of my favorite stories told by my grandfather was about the unfortunate time that my grandmother rolled the Jag over in a road race and slid down the passenger's side. He admitted to letting a bit too much air out of the tires that day, and while taking a turn the car rolled over. I have an old black and white photo of the damaged roof, but I don't remember the incident personally.


Fast forward about 45 years or so, and we come to this weekend. My parents are cleaning out their home in NJ as they move on to retire in PA, and while going through some old boxes in the garage that belonged to my grandfather we find an odd piece. A chrome car door handle with the Wilmot Breedon (aka Union key) stamped "Made in England" still in the handle, and lot of road rash down the crest. I immediately grab my phone and Google image search what a 1967 Jaguar XKE door handle looks like, and sure enough here was the piece in my hand. Unbelievable, actual parts from the infamous wreck. To some people, they would think this is just a piece of junk, but to me it is a treasure I plan on keeping.

Friday, June 26, 2015

3100 Truck Bed


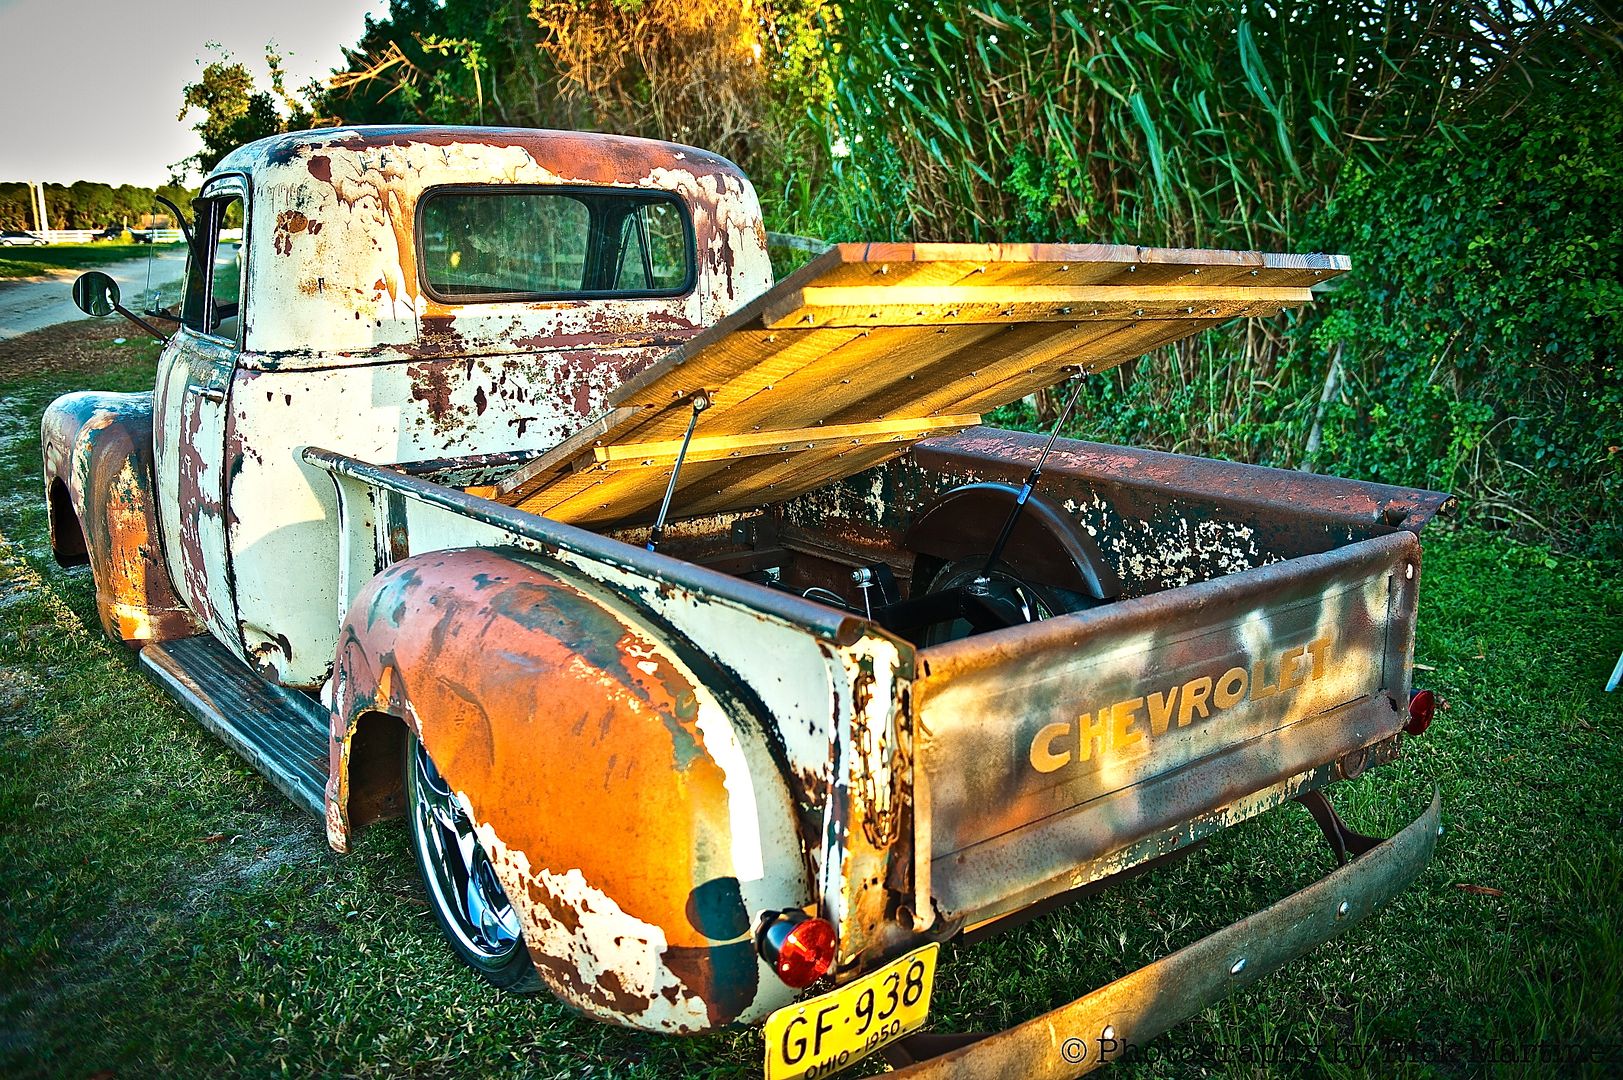
While on vacation this week, I finally got around to the new oak truck bed for the 3100. The kit I ordered from Mar-K was for a 1954, which was just a little closer to the length I was looking for. I first sanded all the wood down with 120 and again with 220 grit, and rounded the edges over slightly with a file to help the next step. I then cleared everything with a few coats of Nason automotive clear on all sides.

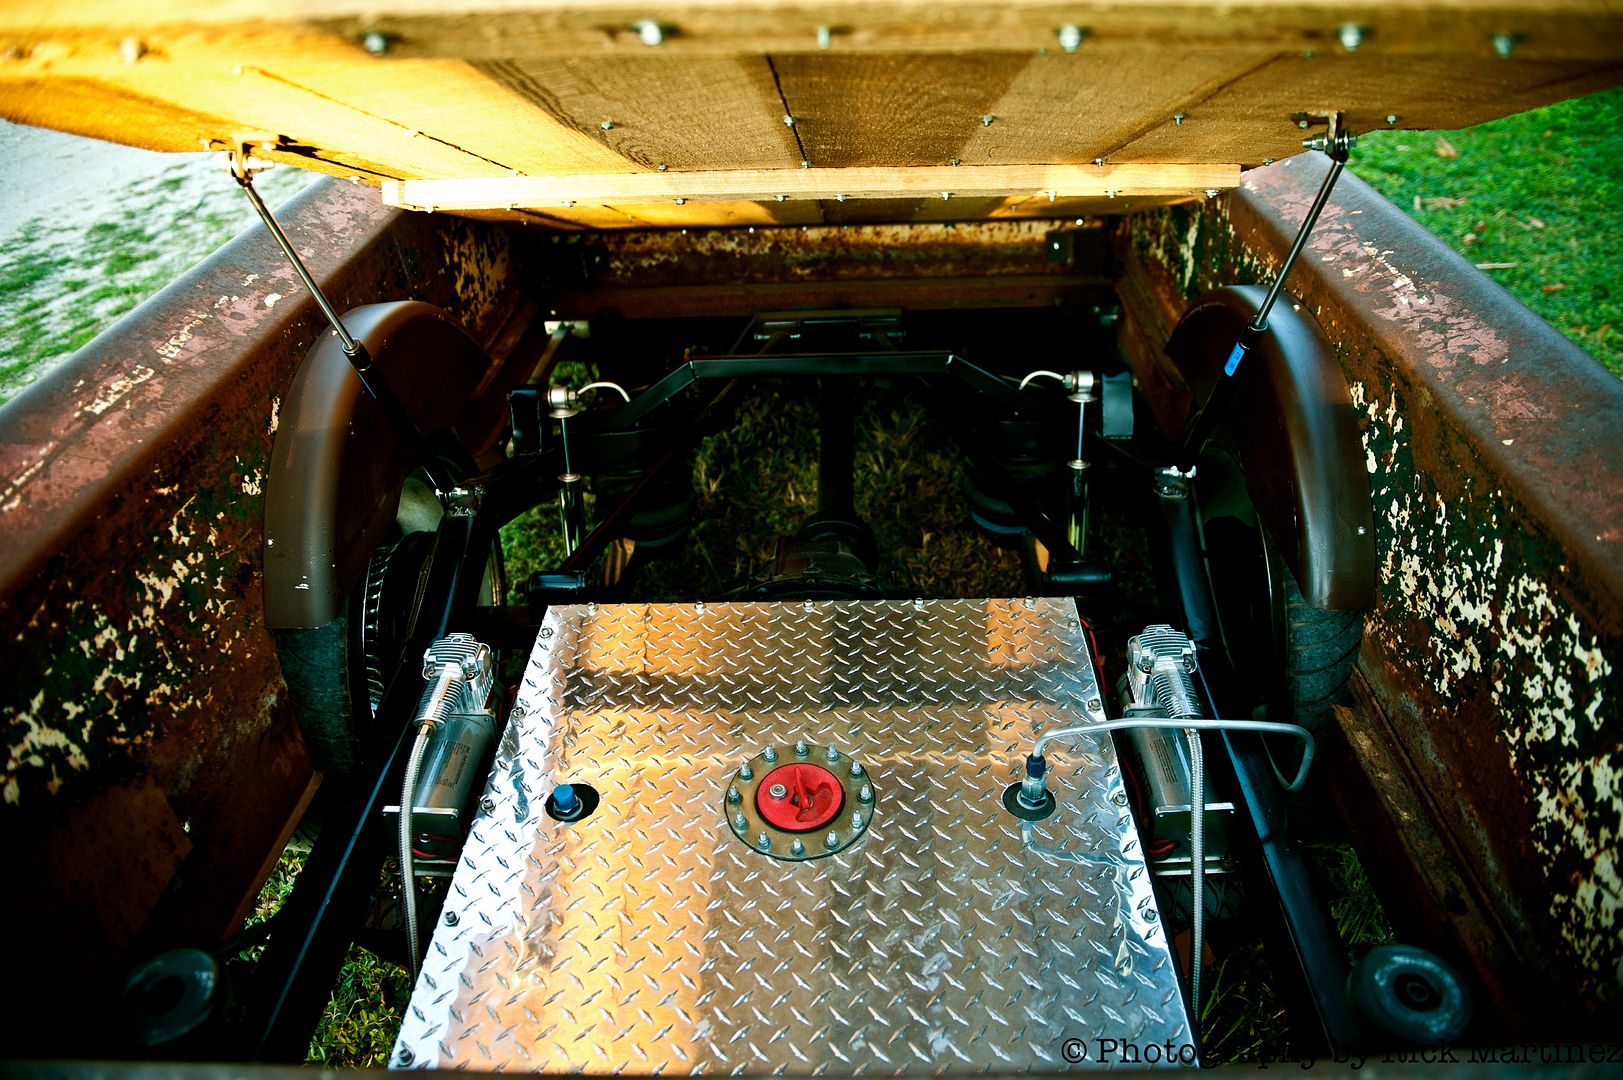
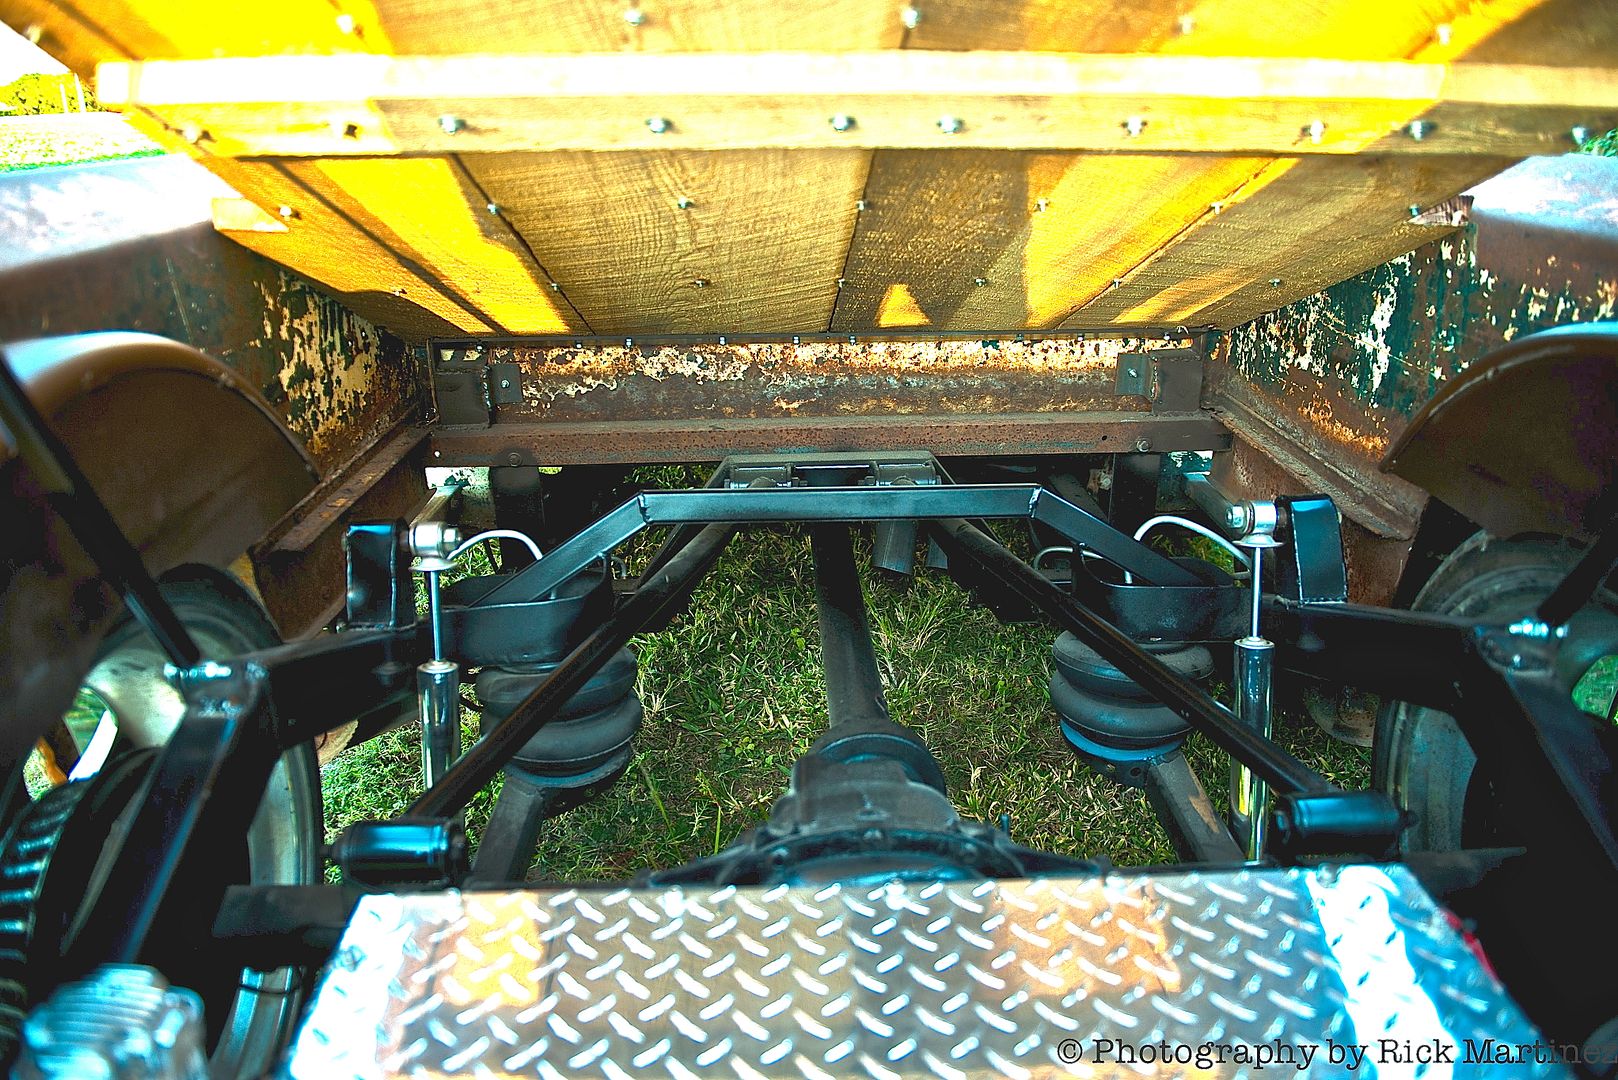
The installation took all day, due to the fact that this truck bed is hinged at the cab side to allow access to the suspension and fuel tank. I added a few steel straps to tie everything together with the polished stainless hardware, and it all came together rather nicely. I am now just waiting for my linear actuators to assist with the bed lifting.

Sunday, June 21, 2015

Truck Cab

There have been a few things about the build of the '52 3100 Pickup that have gotten me aggravated, but none more than the previous owner's inability to use the correct fasteners. A few weeks ago, we took the bed off the frame again, and replaced the tiny little bolts with some standard-sized grade 8 nuts and bolts. I even used these fancy "lock-washers" that prevent the bolts from loosening up and falling out. According to Google, the lock washer was invented by a blacksmith in New Brunswick named Morris Landry in 1901 to keep the nuts on rail cars.... so WTF, why couldn't you put them on my truck??? I knew there was an issue because not long after I started driving the truck did the cab and bed start making contact and messing up the paint on the cab corners. Awesome.

So the next step was to check the ever-loosening cab mount bolts, and as you can guess some were not up to par. I removed the seat and seat floor platform, cleaned up the mess underneath (including the carcass of a petrified rat) and got to work replacing the hardware. The bottom of the rubber body mounts on the cab were a flimsy rubber O-ring, so I added a solid rubber Camaro body mount to the inner section of it, and of course the required lock washers. Before reinstalling everything, I wanted to put some sound insulation on the floor, so I called my local car audio installers... they wanted $120 for a 10 foot piece of "Hush Mat". After a bit of research, I came to find out that Lowe's has a "Peel and Seal" product that works just as well for about $18. It was a quick and easy fix that keeps the road noise down, and seals the factory holes in the floor as well. It is much quieter now, and although the cab feels better on the frame, the gap is still pretty close between the cab and truck bed. I'll have to tweak the filler panels when I eventually do a bit of body work, but for now the ride is much better.


'67 Camaro RS Headlights


When I first picked up the Camaro, the RS headlight system needed some work in order to make the doors work correctly. After much research, I finally figured the system out. There are three relays tucked up in the driver's side fender, along with a few switches and a pesky little rectifier diode up under the dash. The relays were incorrectly wired, so that was an easy fix, and I did need to replace one of the headlight door motors. Finally the rectifier diode went, because the doors would open normally but not close at all. I couldn't see any reason I should have to replace that entire harness under the dash at a cost of over $50 for one small faulty part that cost less than $1. 
It turns out that the RadioShack-276-1661 part is a perfect replacement, so I just had to run down to my local... oh wait, they closed Radio Shack stores. I quickly jumped on eBay and grabbed a 4 pack. I swapped the rectifier, covered it in the correct cloth tape, and now the headlights on the '67 Camaro RS are once again working perfectly.

Saturday, May 02, 2015

3100 Truck Gas Tank

The gas tank on my 1952 Chevy 3100 Pickup had a hole in it. I tried to patch it up with Caswell sealer from the outside, but that only lasted a few months because I just dabbed a bit on the outside of the tank. After a bit of research, I realized that the gas tank was from a 1965 Ford Mustang, and so I picked up a new one at Carlisle at the Spring Swap Meet along with a new sending unit. I cut the float and sending unit off, but kept the pickup tube and sock filter. I cut a 1 5/8 hole in the top of the tank to mount my sending unit, and now it looks and works great. I then took the cheap plywood bed floor off and mounted the empty bed back on the frame using the right sized bolts. If you take a close look at the above pic, you will see the bed mount on the right rear is significantly lower than the left side mount, so the bed had a lean to it. I shimmed it up for now, but I might cut it off and re-weld it higher next time.

The next project is to make a nice new wood bed that might lift like this one...

Saturday, April 04, 2015

Wiring Circuits

I haven't been driving the 3100 Pickup much this winter, as I really didn't want to drive it in the snow or salt covered roads. So, after the winter thawed, I installed a new Optima battery and a 100 amp alternator to make the electric system all new.

I started the pickup up to take it to work the other day, and was surprised to find out that I never finished some of the wiring projects on the truck. I had to share a circuit for the electric fan (just the relay on) and electric choke, and when I manually shut the fan off to allow the truck to warm up faster in the cold weather, I also shut off the choke. That's not going to work... I learned that the hard way.

I purchased an additional three fuse circuit from Painless Wiring that was a perfect fit. I wired the choke and the fan to their own keyed, dedicated circuit, and a new constant hot lead for the lighter so that now I can charge my phone or plug something in the lighter. For you kids, that's what you called the power outlet in a car prior to the 90's.