The last electrical upgrade that I did to the bus was to convert the sealed beam headlights to LEDs for better visibility and less draw on the electrical system. I detailed everything in the conversion on my YouTube video below.

I have upgraded the bus with a new yellow Optima battery this past winter, and since the new starter and hot-start relay were installed, I have not had any issues with cranking and starting the '67 VW.

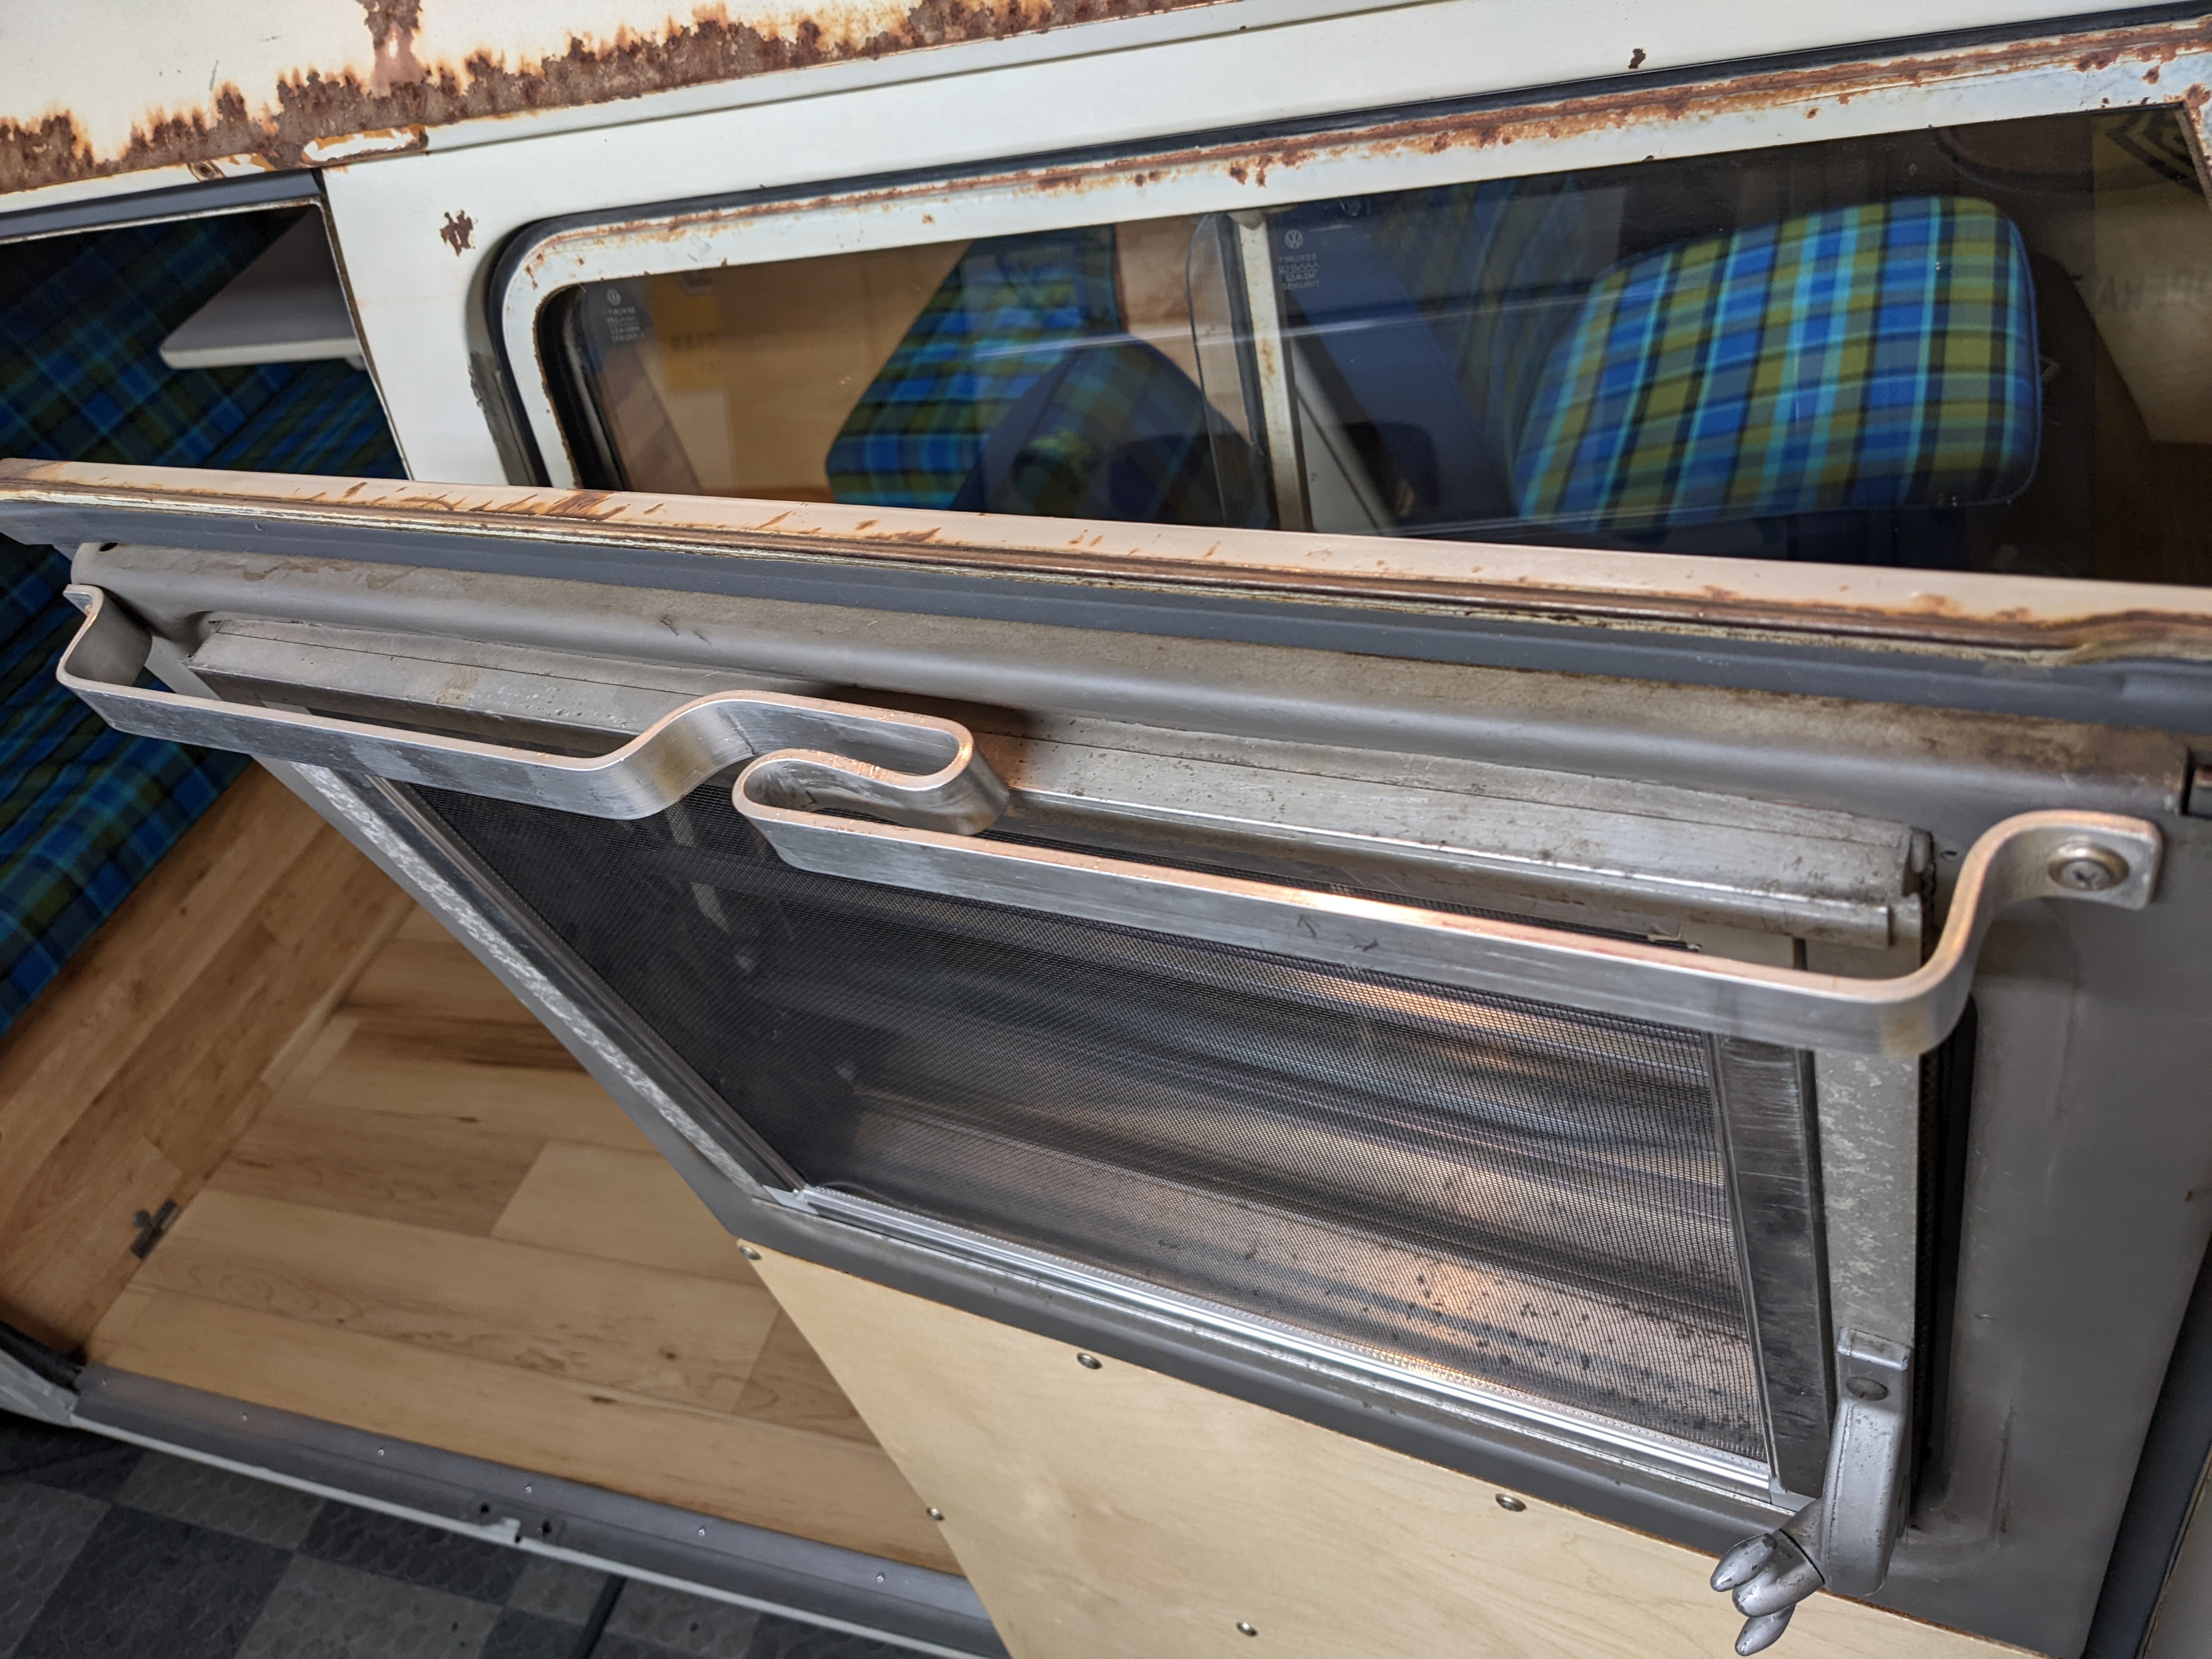
 My friend Steve also provided me with a spice rack for the cargo door from his Sundial camper, and with a little modification it fits perfectly with my bus.
 I also recently added a personal touch with some LOTR art work on the roof and back side of the rear cabinet, but most people will not ever see it unless they are inside the bus.
 The steering wheel needed a restoration, so after using JB weld on the cracks, I gave it a few coats of primer and paint to freshen it up.
I added a few LED lights to the engine compartment for those late night oil checks by modifying a couple of old fog lights. I replaced the bulbs with LEDs, and them mounted them with some magnetic base clamps to the roof of the engine compartment. They work great, and are adjustable to light up anything that I need. I also have covered the bus with 1,800 Christmas lights during December to brighten up the neighborhood as well!


Where have you been Blogger? It has been so long since I've posted... I do not even know where to begin catching up. My children were married, grandchildren born, Camaro sold, motorcycles sold, VW bus in full use, retirement... aghhhh.
I have been posting a lot of my exploits online on my dedicated VW Instagram page at https://www.instagram.com/wilsonthevwbus and also on my website at https://www.wilsonthevwbus.com/
I have been busy creating the past 5 seasons of my podcast "Wilson the VW bus", which is available on all major platforms (check here). If you read this blog and are interested in Volkswagens and have not visited the podcast, you are missing out. The summer of 2026 is starting, and I will try to keep up on my Blogger.. maybe even backup a few pics here too.


Over the past few weeks, I've been looking for a set of amber fog lights for the bus. Some were just not the right size/shape, and others just way too expensive. I finally found a pair that I liked, so I started the project by heading out to the marine hardware store to pick up some wire, ends and a nice little fuse block. I ran a new 6 GA wire from the battery up to the front and mounted the fuse block under the dash. I created a new switch panel from some scrap steel and painted it the bus color. I also added switches for the fuel pump, new electric defroster and also the fog lights. I ran a Bosch relay for the fog lights, so it required two separate feeds from the new fuse block; one for the switch and one for the heavier load for the relay/fog lights. I also picked up some glow-in-the-dark labels for the new panel too.


The bus brakes were recently rebuilt, but they didn't work well. What would you expect from 55 year old manual drum brakes. I cut the front drums at the machine shop, and basically replaced all the shoes and rear drums. Thinking I had everything adjusted, I took the bus to the Hot Rods and Harleys show in Rahway exactly one year after I purchased the bus. I got there just fine, but lost the brakes on the way home, and ran through two red lights. The master cylinder was shot.


The radio was gone when I got the bus, and someone had opened up the dash a bit for a newer unit. I bought a radio delete plate, but could not install it correctly because the new hole was too big. I decided to flip the plate over and install it on the front, (it looks better than an ugly hole) and then create a new iPad dash holder from some scrap metal I had hanging around. This just hangs on to the dash vents, so you can remove it without any tools, and the iPad's magnet likes to cling to it nicely. I found a cool app for navigation and tunes, and now I have modern dash that isn't a permanent modification.


The bus came with this vintage Airguide thermometer and humidity gauge in the door panel, but I did not want to put it back there once I made new panels. I thought that I could make a gauge pod for it, and then add magnets to the back so that I could move it around. I found an old tin can, drilled some vent holes in it, JB welded the magnet to the back and painted it the interior pearl white. It currently lives above the passenger visor area, and works great.


I needed to make curtain rods for the bus, because there was no way I was paying the prices people were asking for original ones. I found a photo of one, and then used that to make a template/buck so that I could bend up some aluminum flat bars. Other than burning my hands a bit, I was pretty pleased. Remember kids, just because it isn't red anymore, doesn't' man it isn't still hot.